
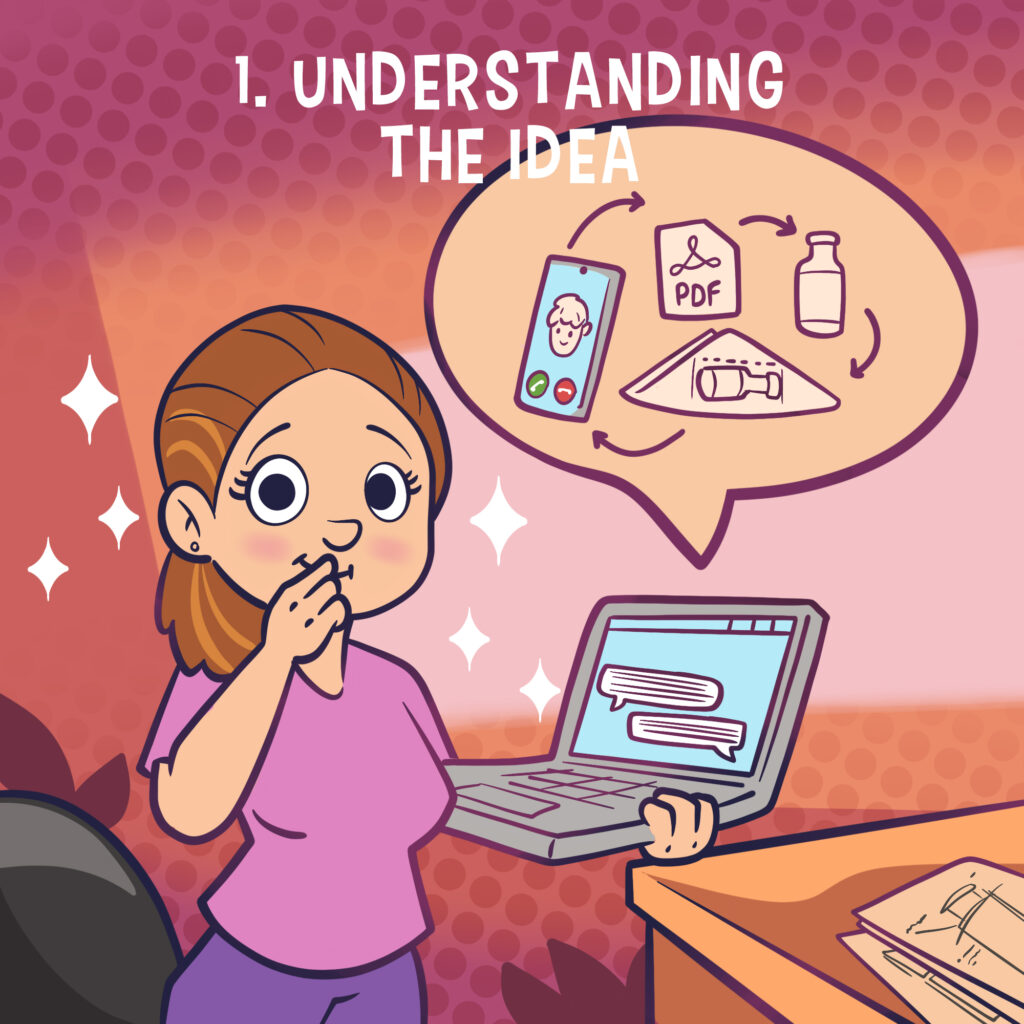
1. Understanding the Idea.
Before I can do anything the most important thing is to make sure I’m on the same page as my client which means understanding what the design idea is and the overall project scope. It also means setting some expectations for outcomes and timelines, asking questions and getting a feel for the working relationship.
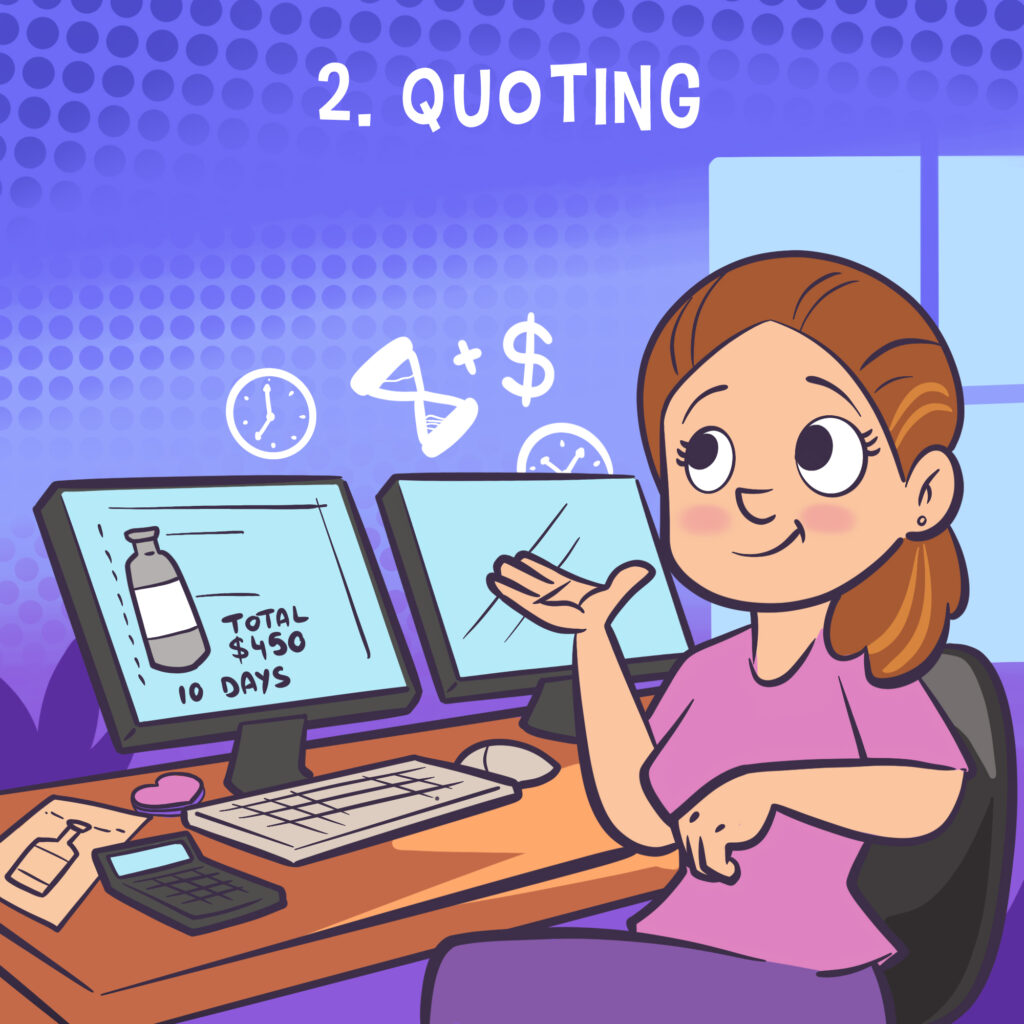
2. Quoting.
Once I know what the target is I can sit down and estimate out timelines and costs to present back to the client for approval. Quotes are sometimes flat rate and sometimes hourly, often this depends on the platform used. Once accepted I’m ready to start designing!
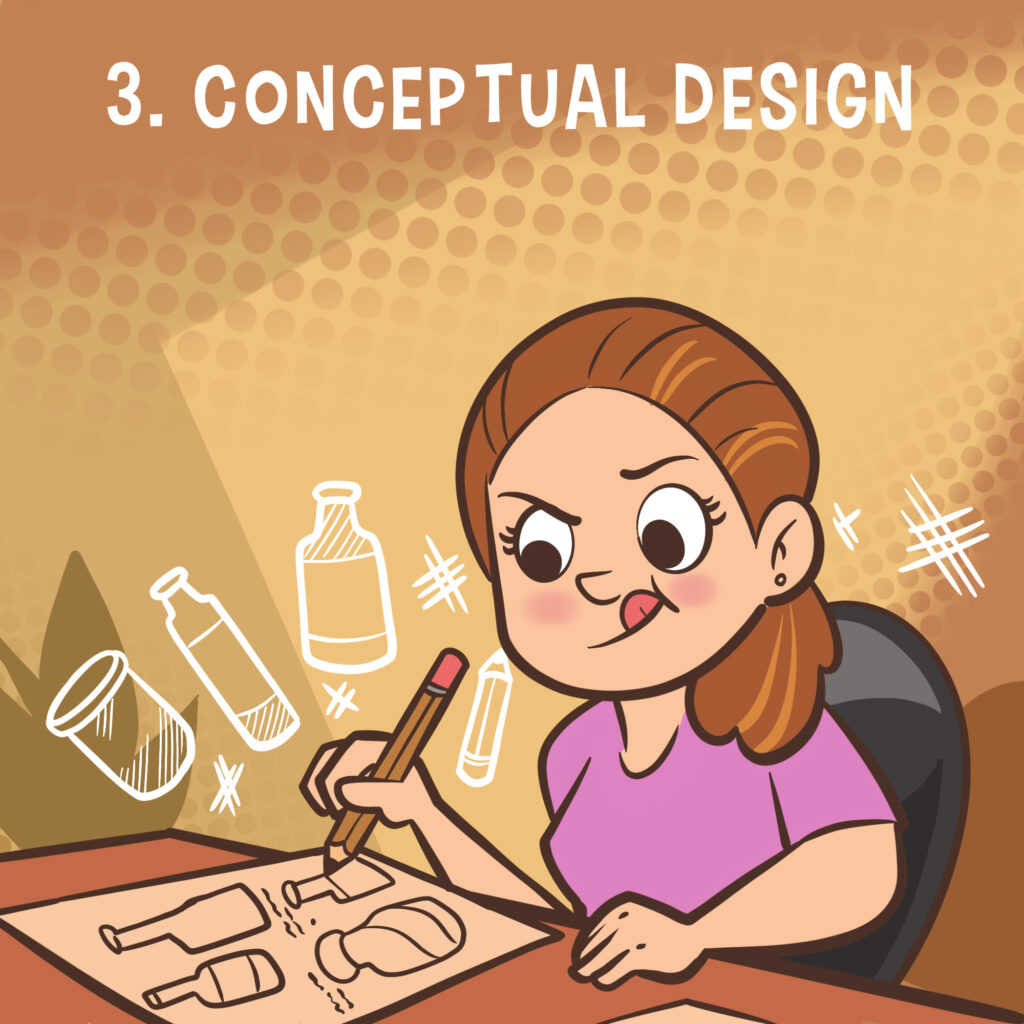
3. Conceptual Design.
Often the first stage of the design process, especially for consumer based products, is to create a range of concepts. This might be to explore different possible aesthetics, mechanisms to create a specific action, materials or a range of other things. Sometimes this is done by hand sketching and sometimes it’s 3D mock ups- whatever is needed to best represent the design intent, though it’s important to note that these are not finished designs just yet!
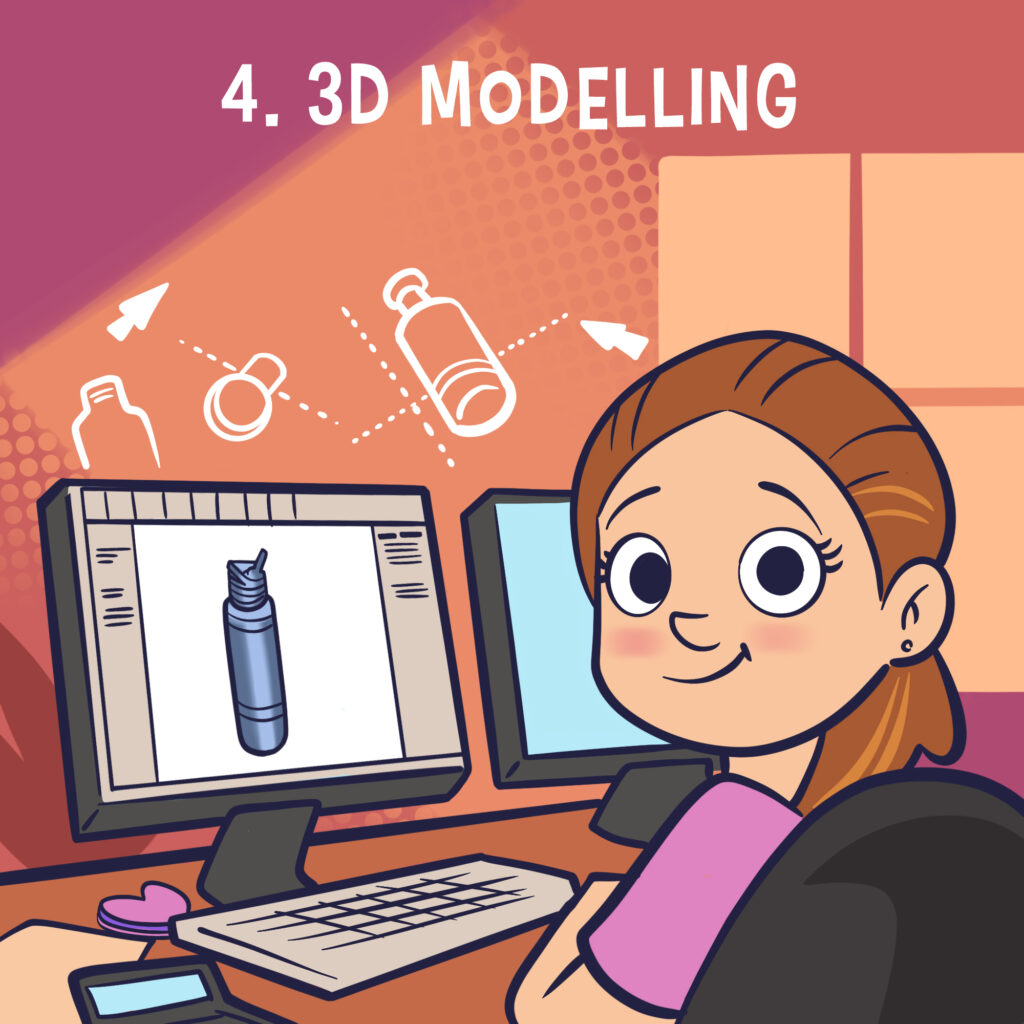
4. 3D modelling.
Following on from concept design and after discussing with the client the next step is to get the designs into 3D CAD for proof of concept and to gradually add in more details. I personally use SolidWorks design software and have done for over a decade!

5. Feedback.
I don’t believe in designing and engineering in a bubble. Which is why the process always involves some back and forth sharing designs with the client, and other team members like electronic design, and incorporating their feedback into the new iterations of the design to move it forward.
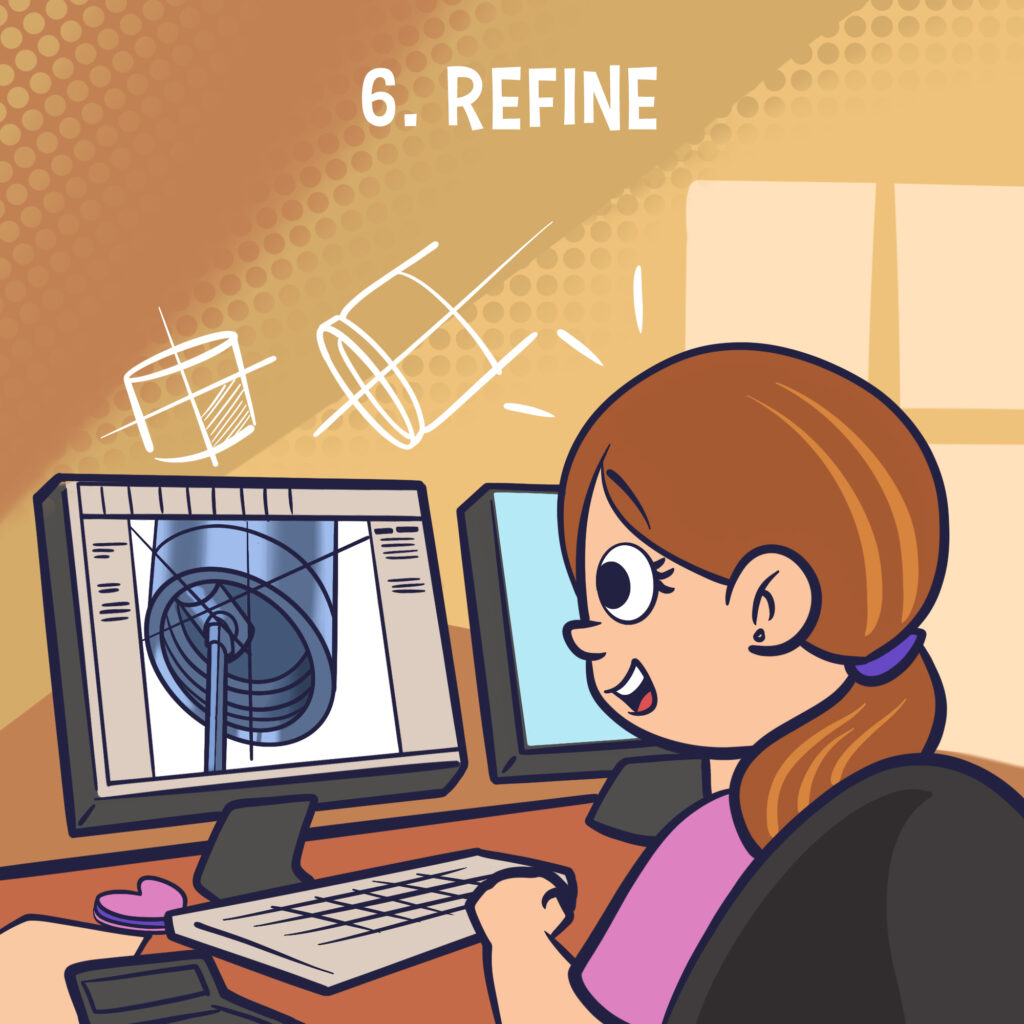
6. Refine.
This takes into account the feedback to iterate the design. Sometimes changes are small, sometimes they’re big. I do my best to minimise design cycles as much as possible but getting the best design sometimes takes time.
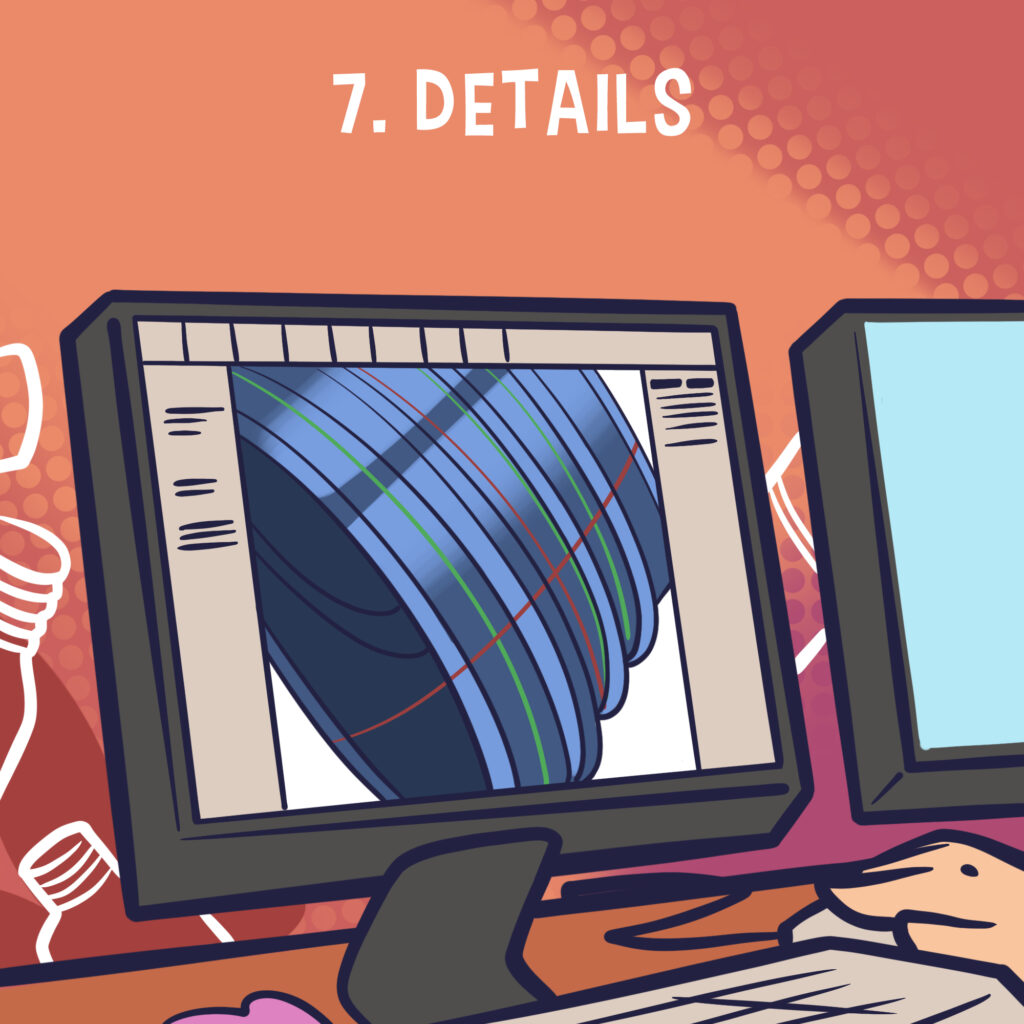
7. Details.
Once the overall design is complete, the last piece of the modelling stage is to fine tune all the itty bitty details ready for prototyping and manufacture.
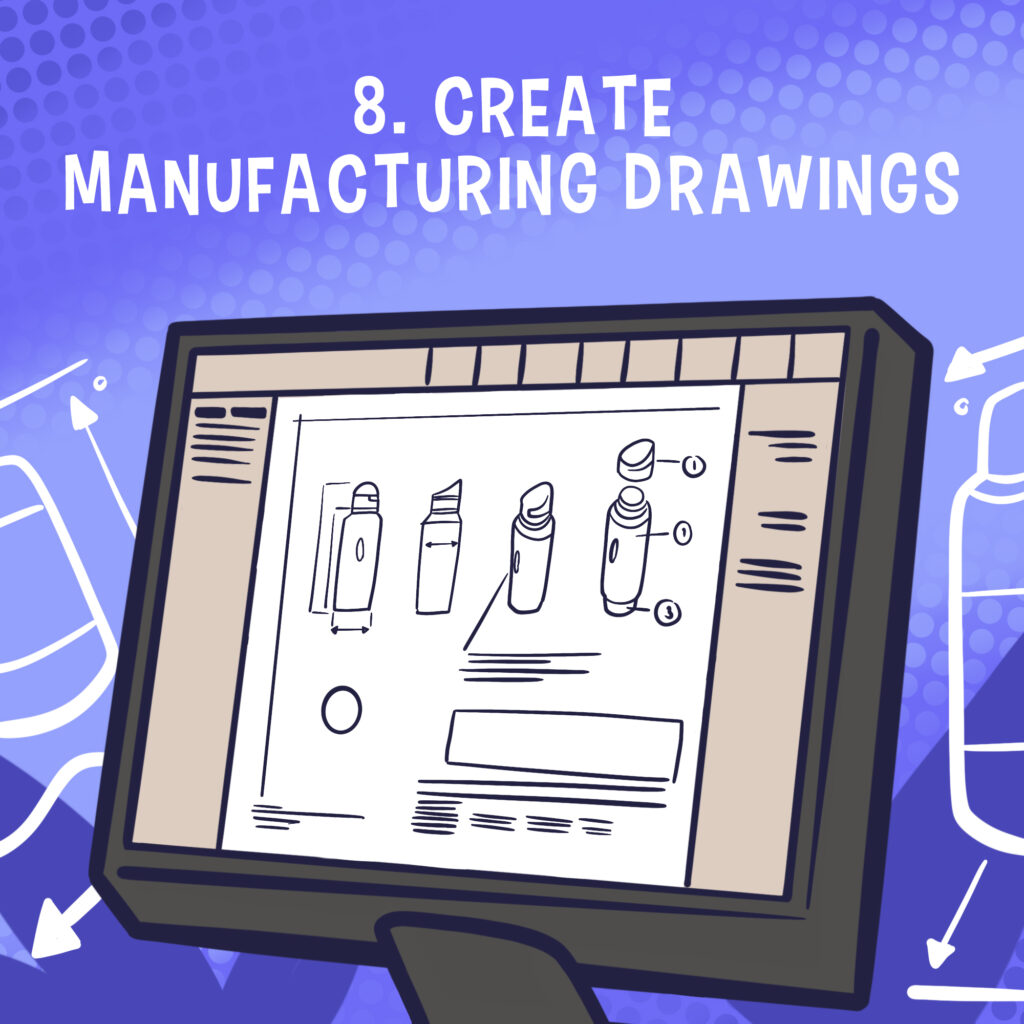
8. Create manufacturing drawings.
This step isn’t always needed, but usually when there is an assembly of parts the process will include creating some drawings to show the list of parts needed (a Bill of Materials) and how they fit together. Often individual part drawings are also needed for manufacturing purposes
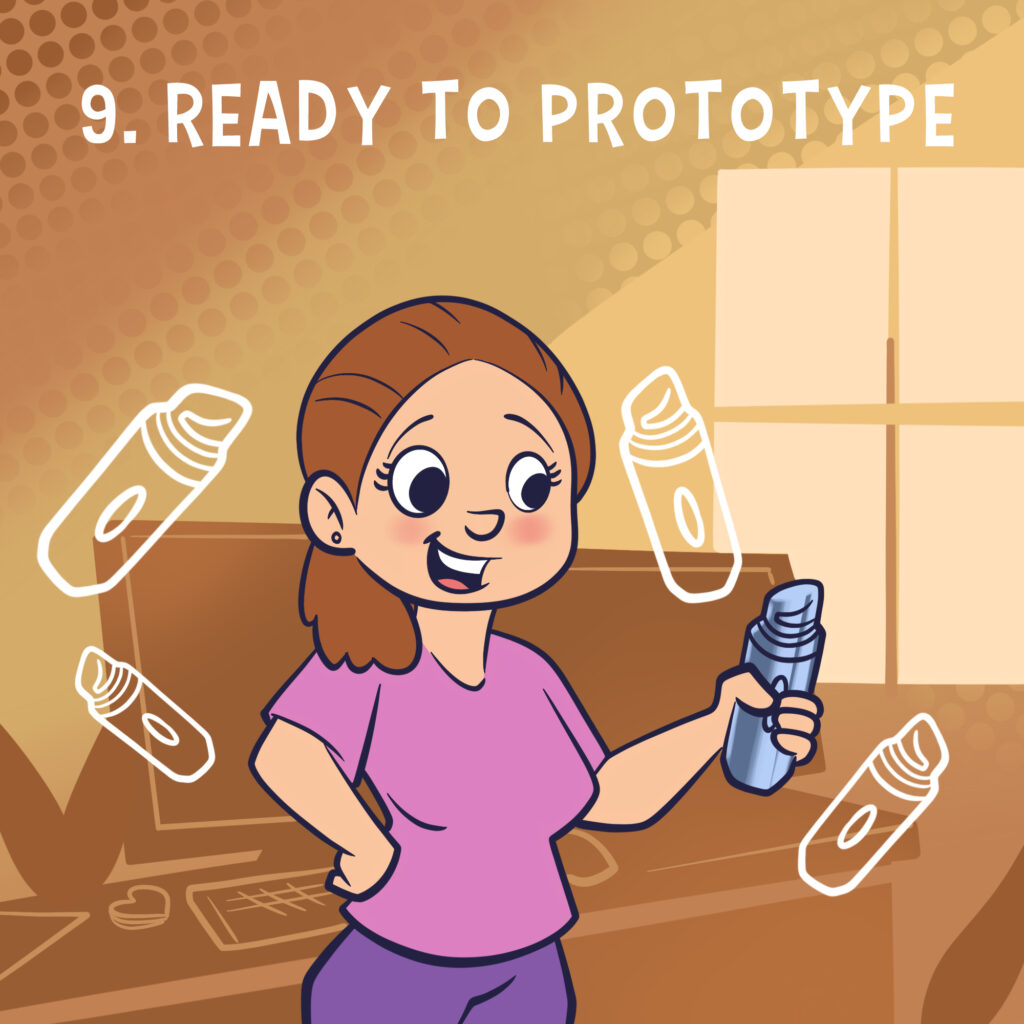
9. Ready to prototype.
I don’t typically do prototyping in house, but I do work with some awesome 3D printing places locally in Toronto, as well as out of the US. Prototyping is an important step in the design process as it can highlight any issues that were missed digitally and bring up new concerns or potential for further improvement. I’d love to say I get it right first time every time, but the reality is design is iterative and usually needs one or two cycles to really hone the design 100%.
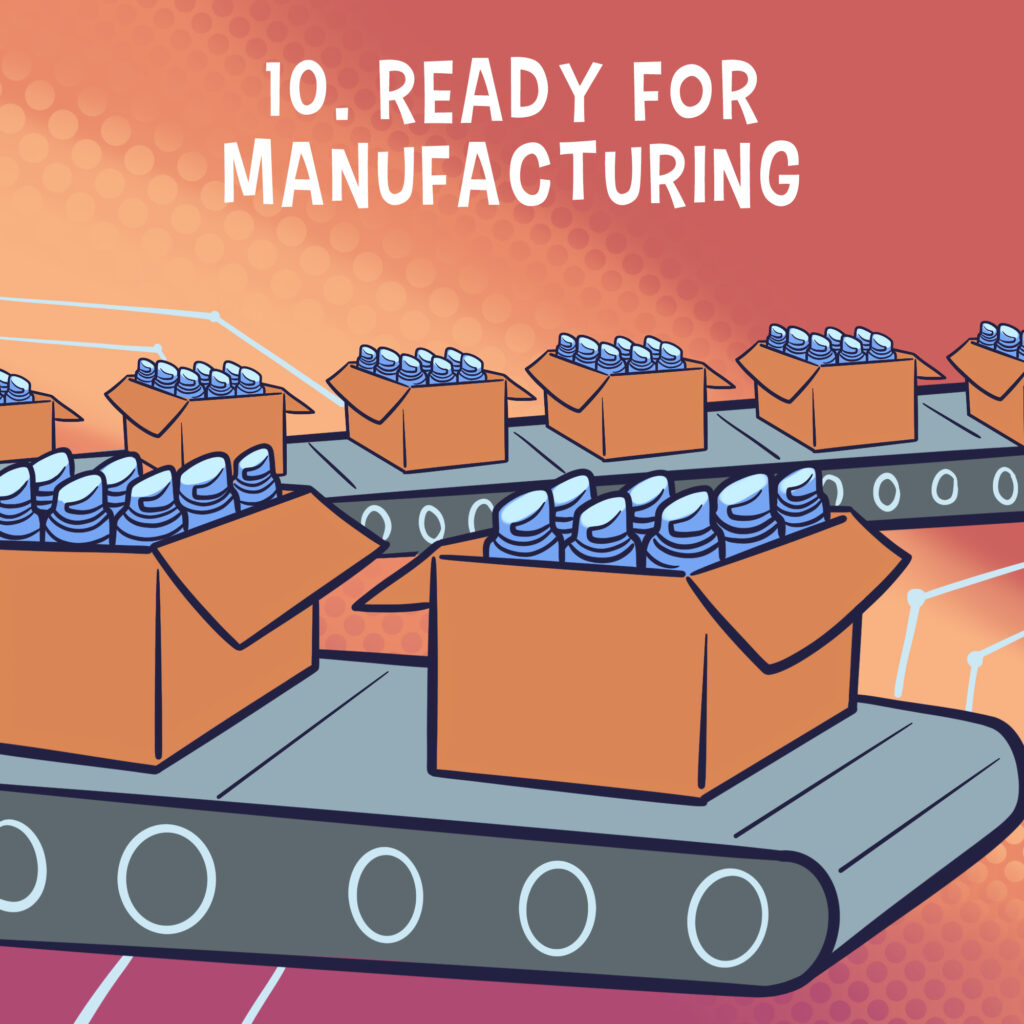
10. Ready for manufacturing.
Typically this is fully handed over to the client to deal with manufacturers directly, however over the last several years I’ve built up a list of great places to recommend in order to help my clients get started.
It’s important to know the design process isn’t necessarily the same for every single project, not all the stages are needed every time, and sometimes they’re needed more than once which is why I work hard to build great relationships with every client I work with in order to hit that final goal of getting real products into the hands of paying customers!